
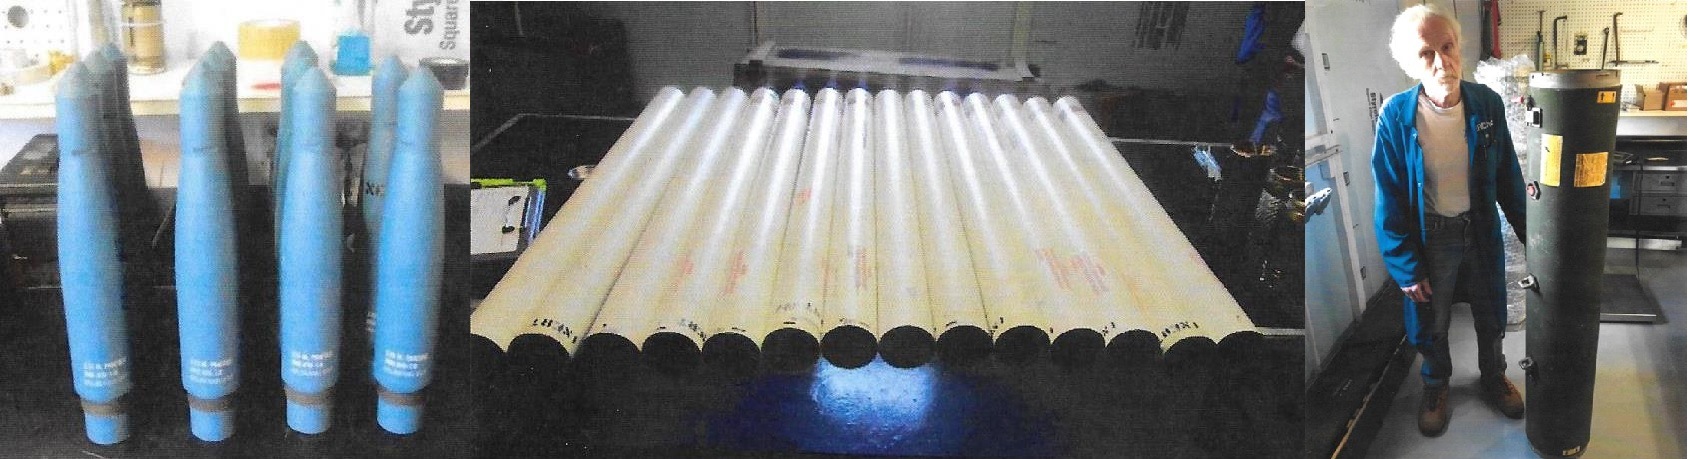
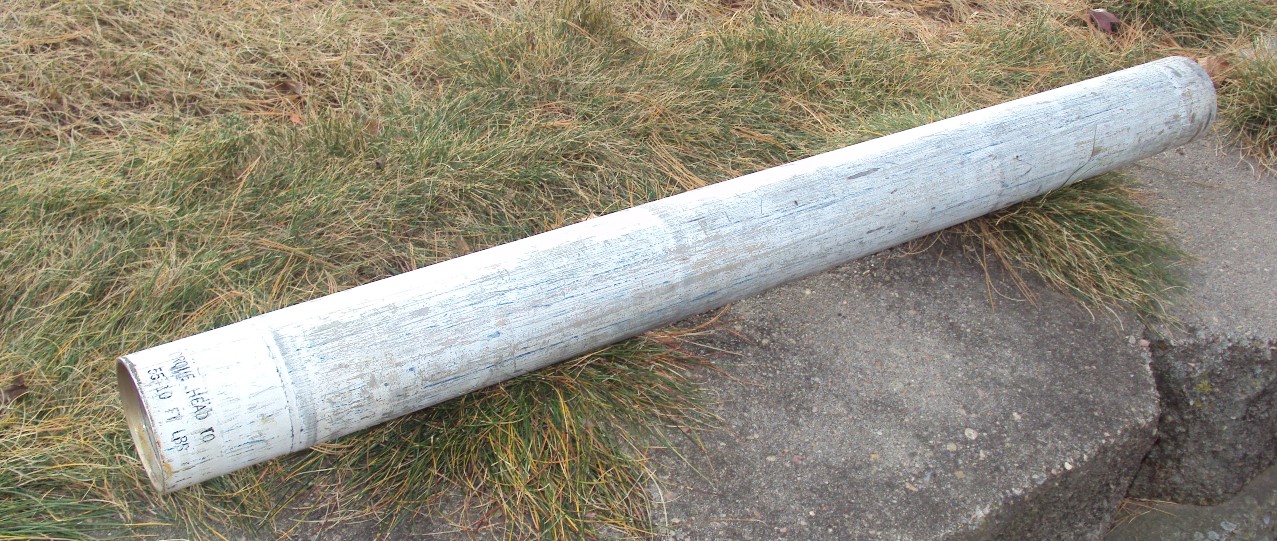
Here’s a little project I’ve recently embarked upon. We’ve been lucky to locate some inert & demilled Vietnam era 2.75″ FFARs. They’ve languished in storage in less than comfortable conditions and so look pretty scabrous. But not to look a gift horse in the mouth, and far, far less expensive than buying one of these little gems off eBay, I bought some specific OD spray paint, sand paper, a good cigar, and had at it. Here are some “before & after” photographs for your enjoyment. The first pics are the rockets as they were found, photos by Ray Klaver. The way the war heads have turned out so far, there’s going to be a couple of Razorbacks might happy when I’m done….and NOOOOOOO, I’m not interested in doing this as a part time occupation or to repay you for saving my life during the war……enjoy!
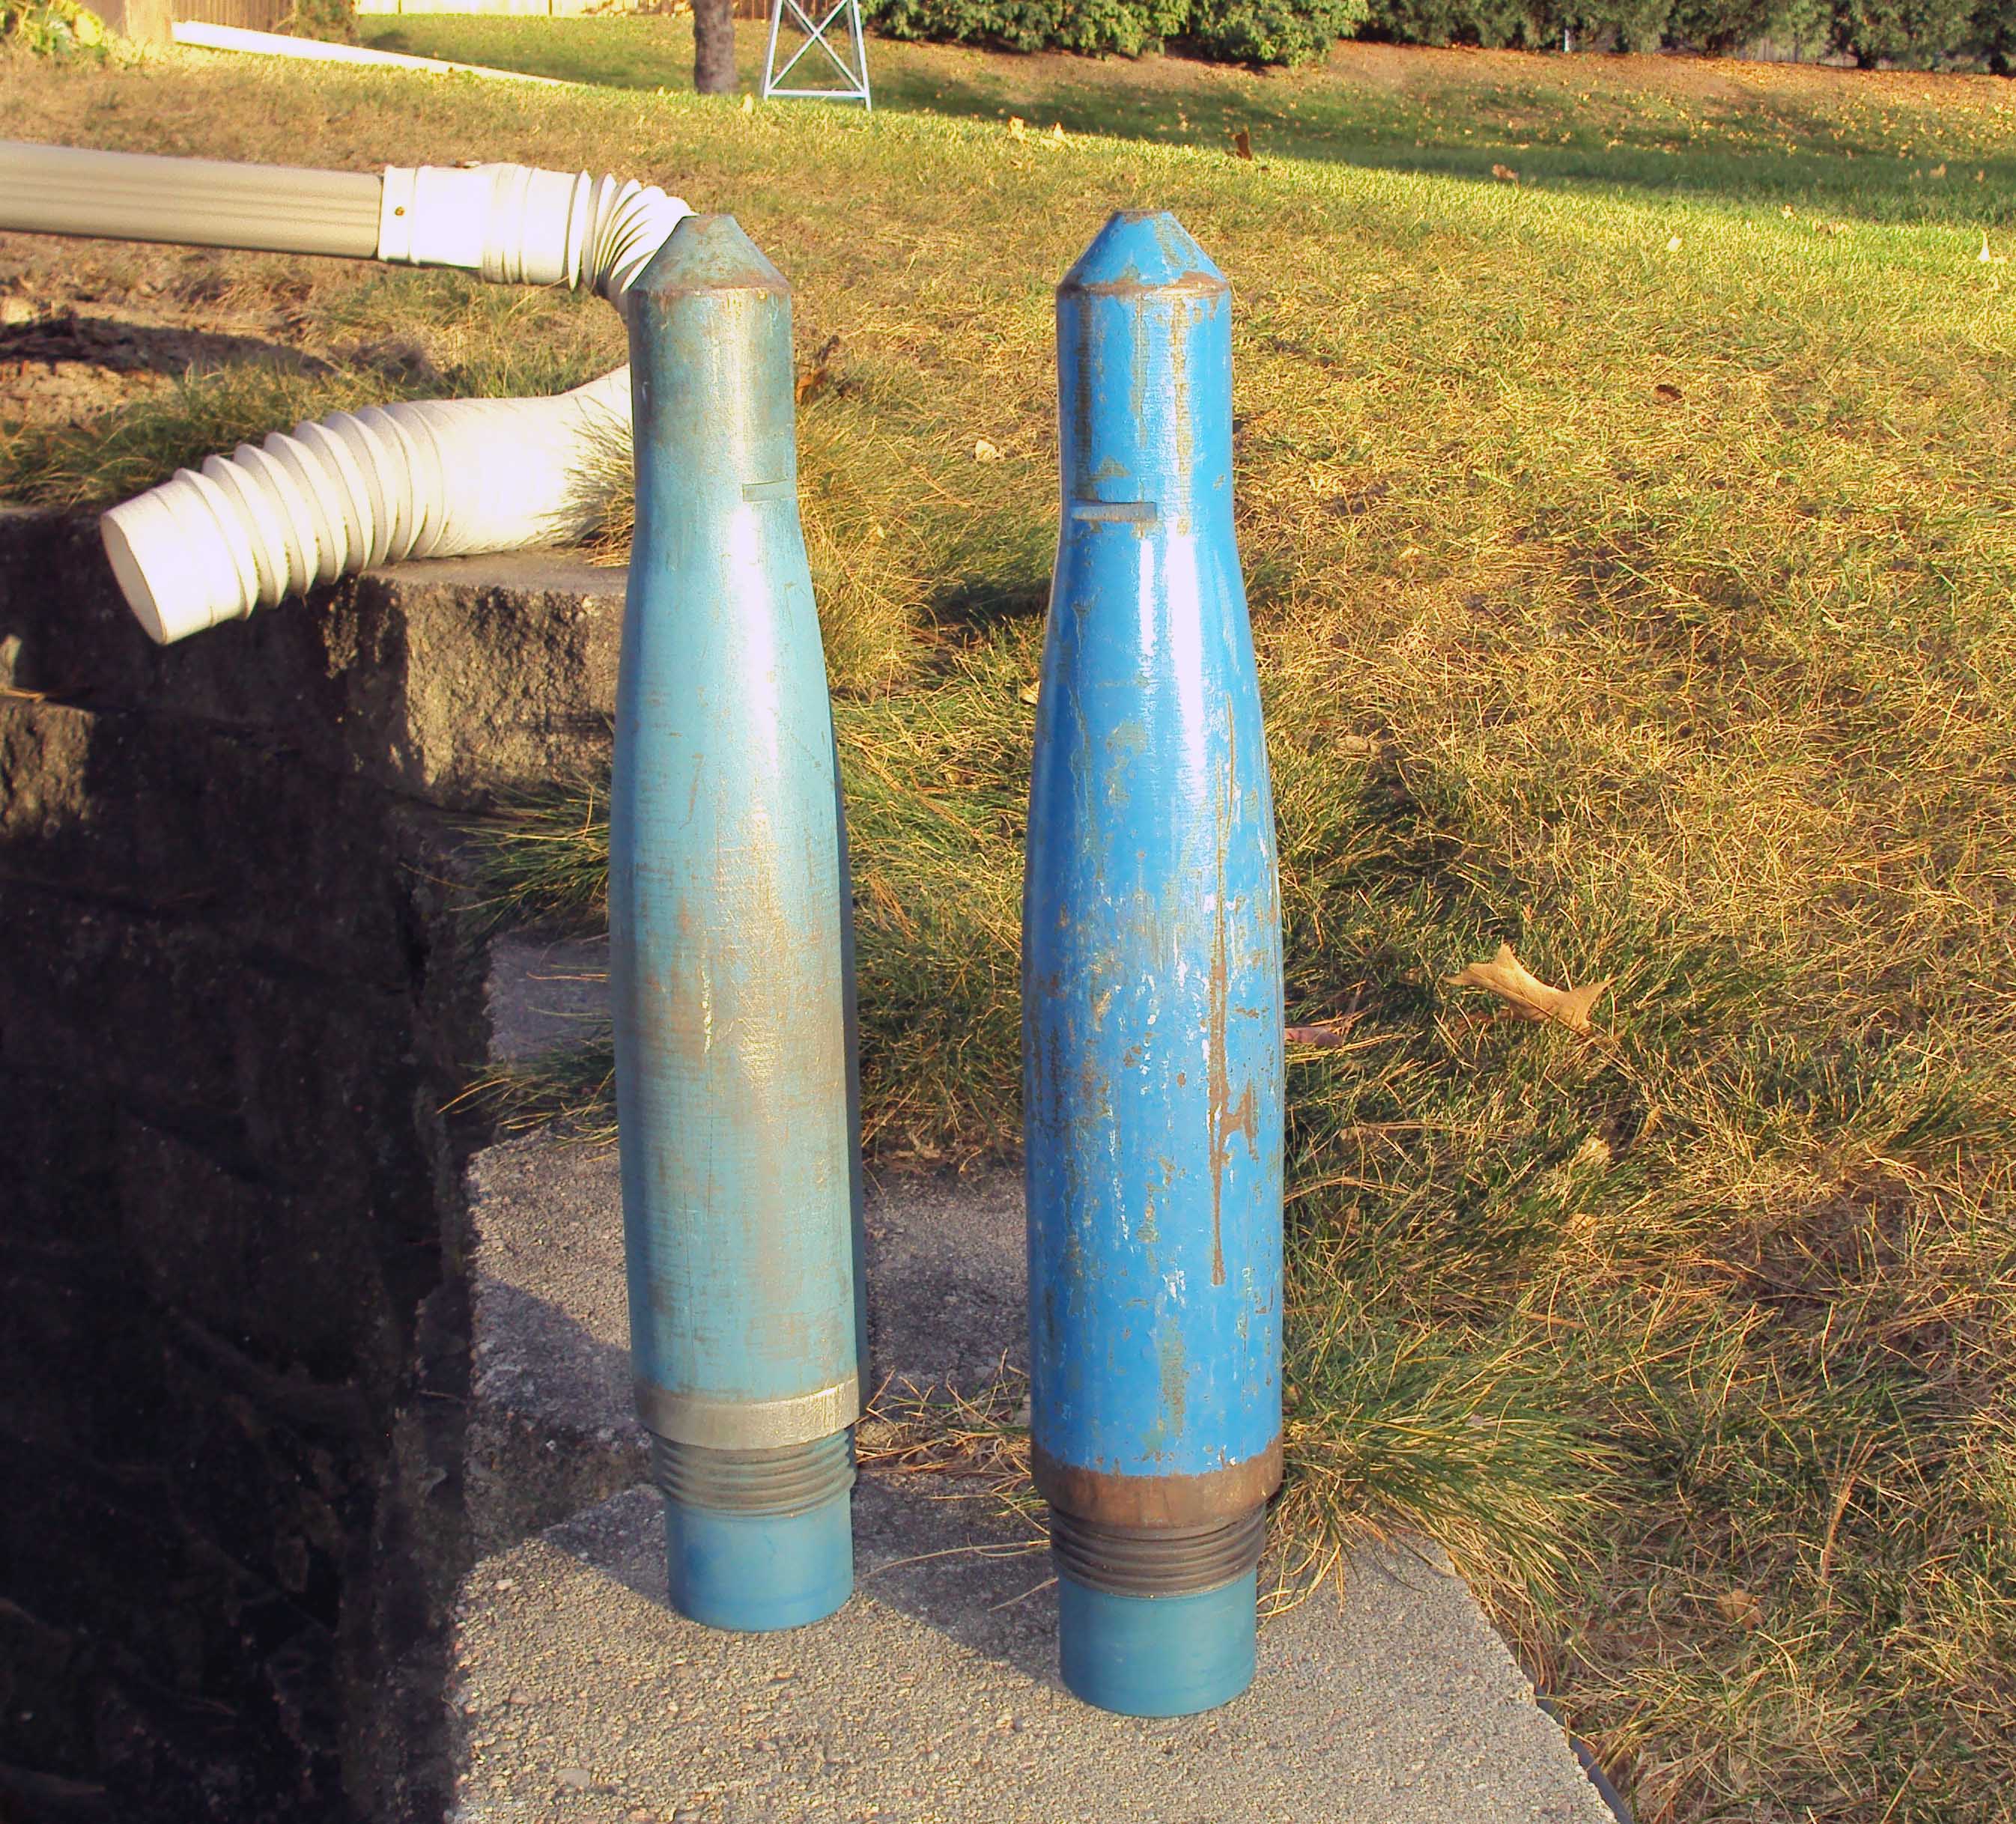
Ready for sanding.
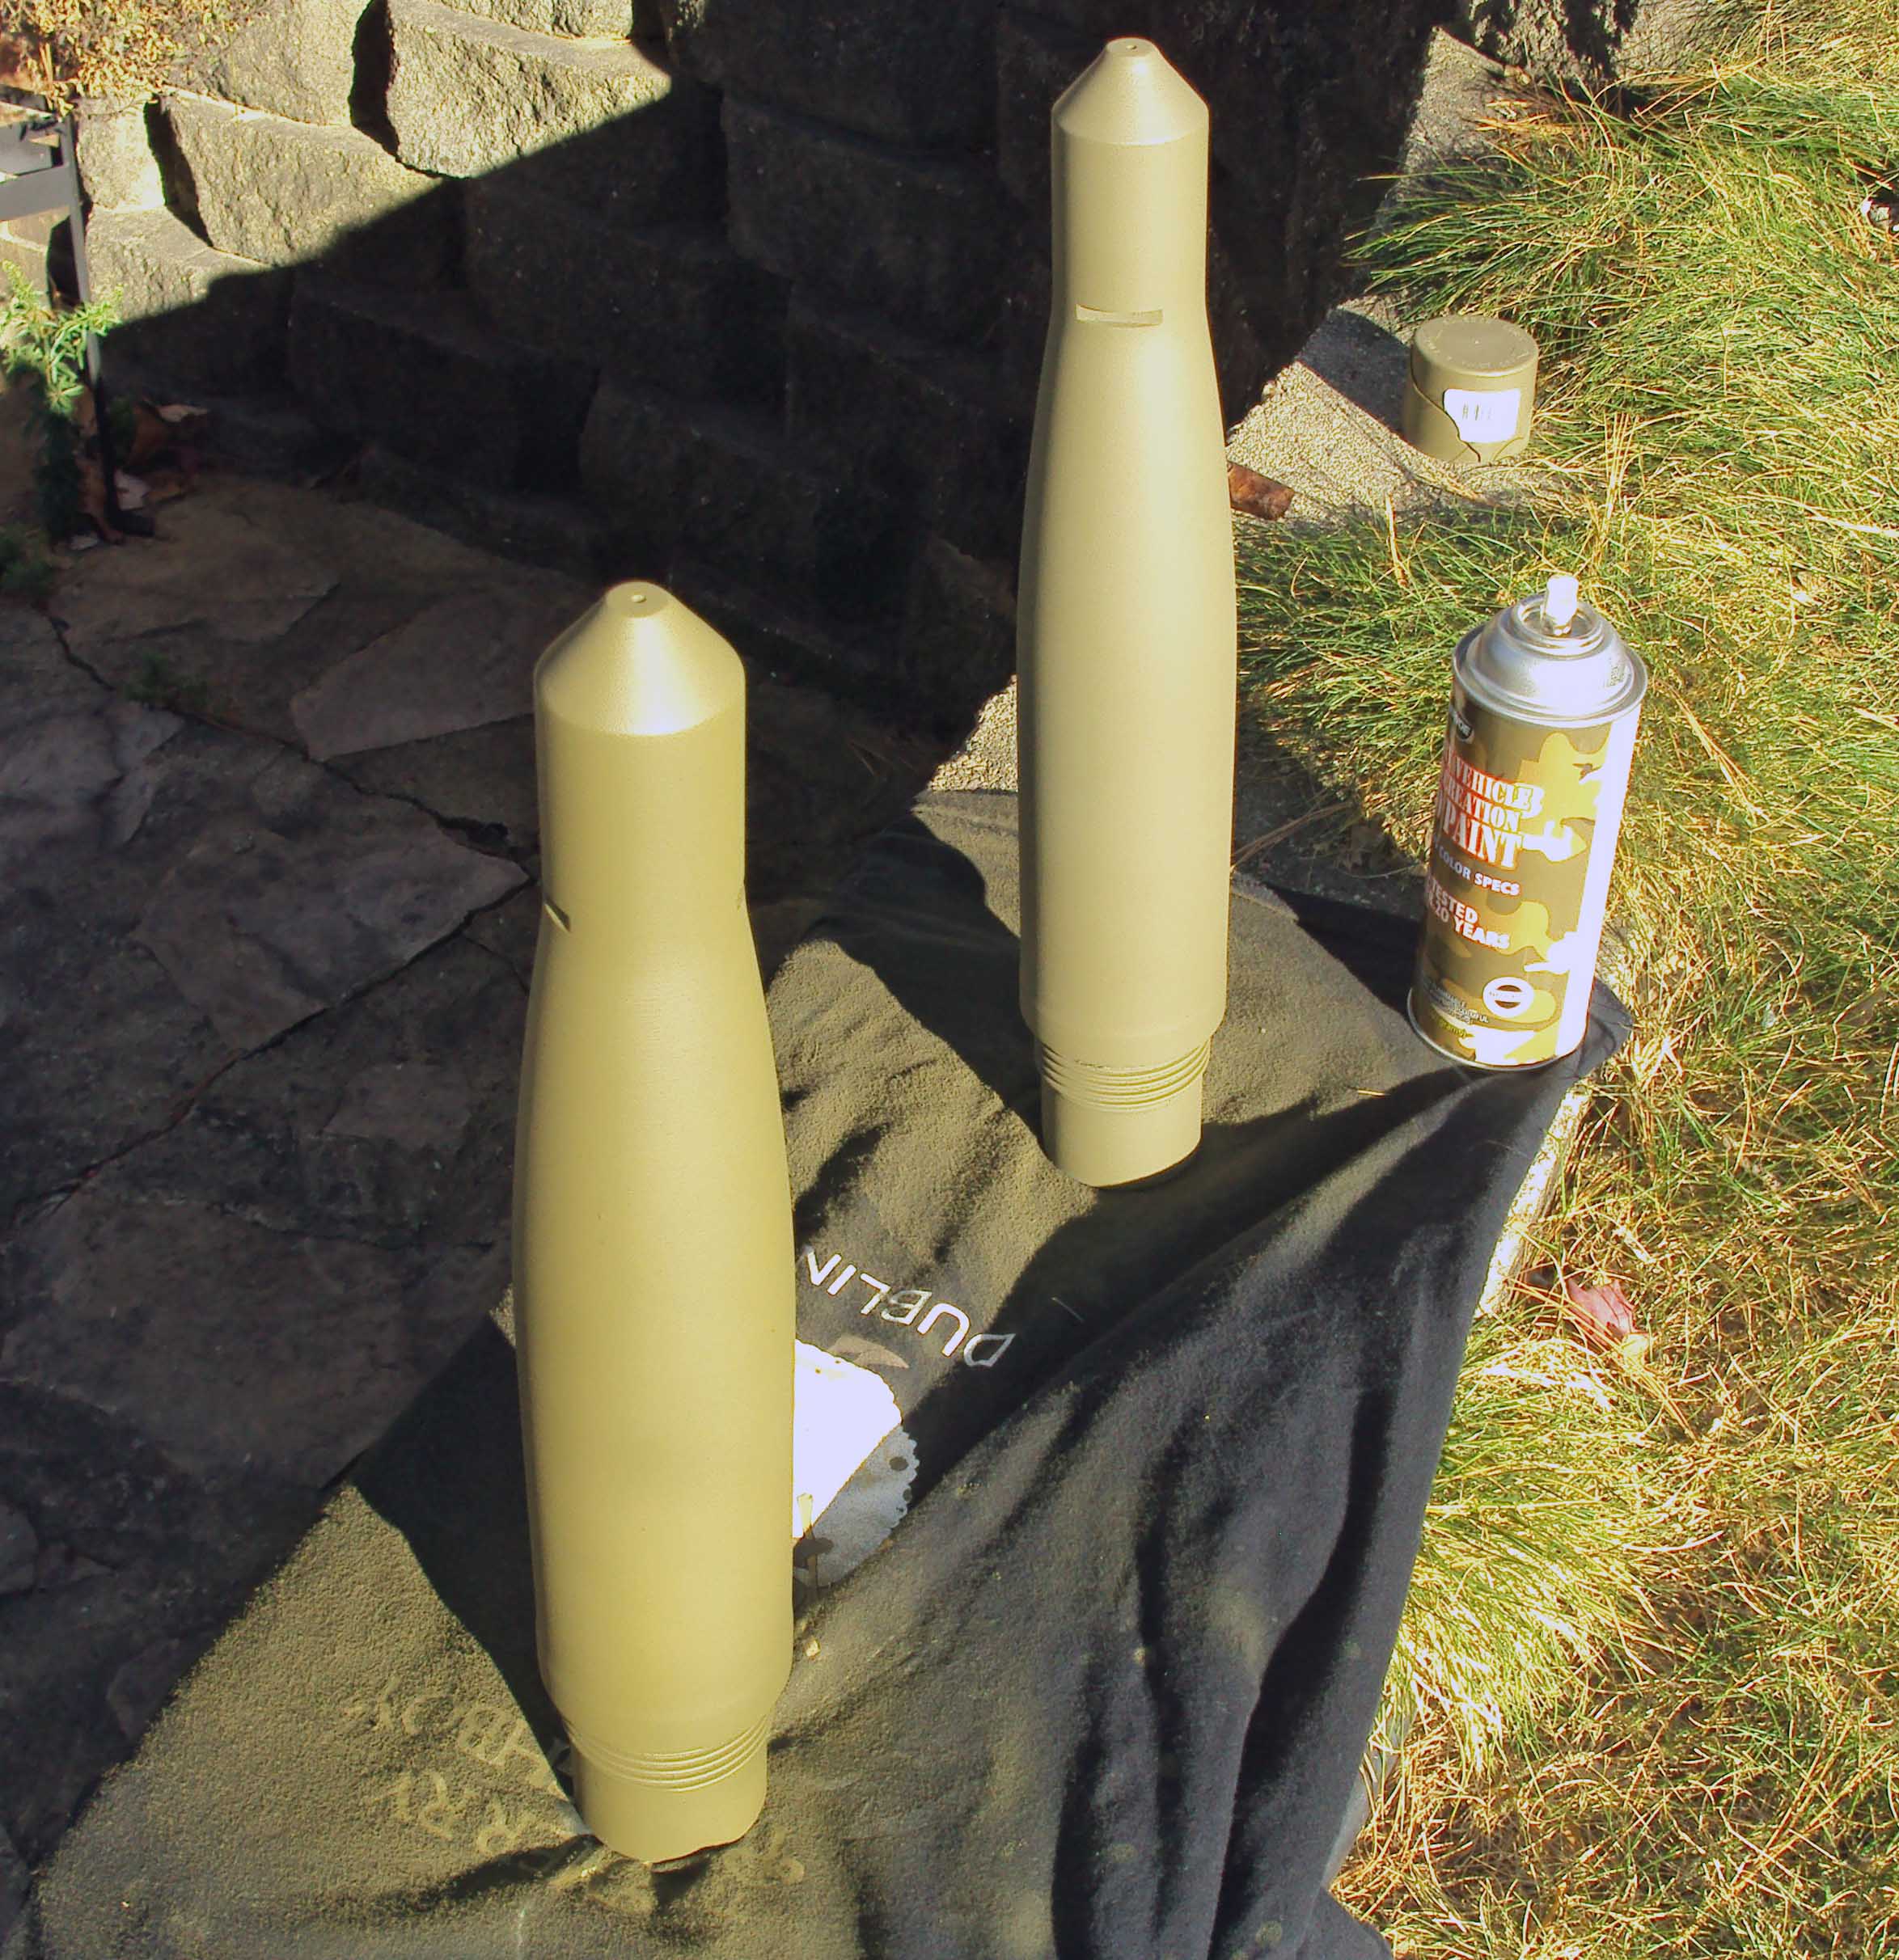
OD paint applied.
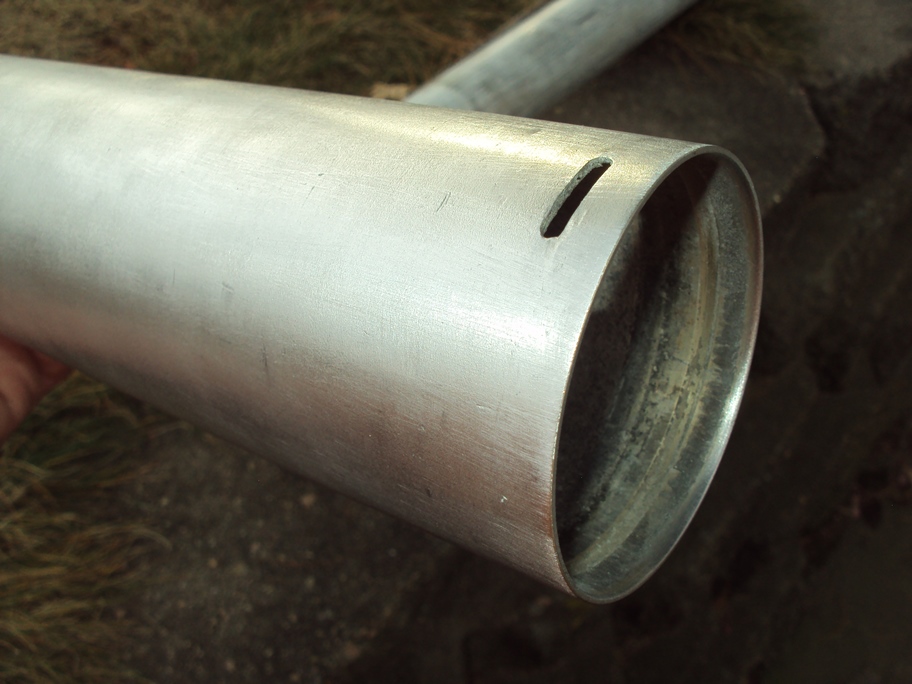
The rocket bodies are the next step.
The fastest way to remove the military paint from the aluminum bodies is with a wire brush mounted on a pedestal.
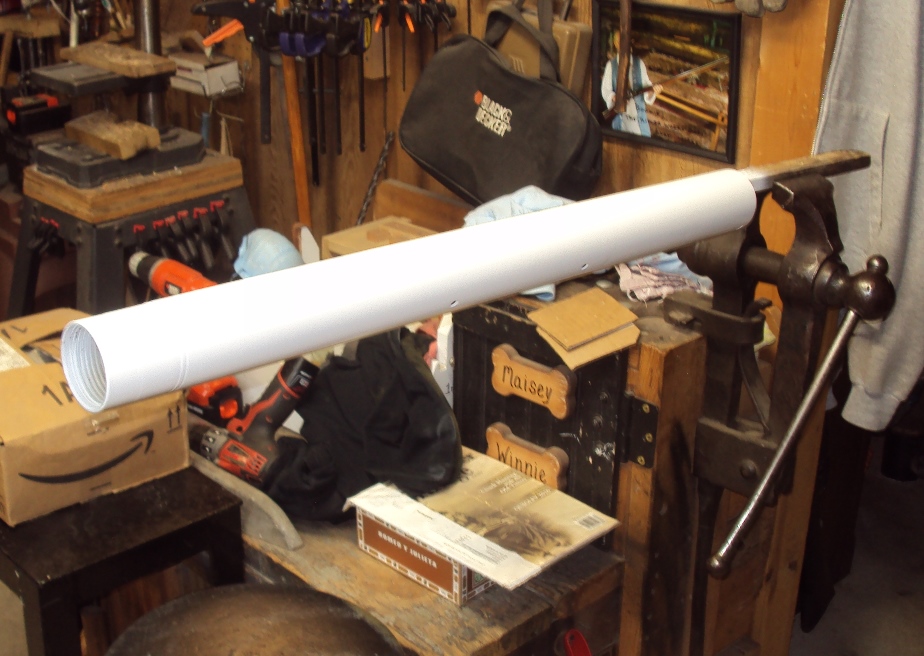
After sanding, cleaning, and drying to eliminate finger prints and oils, Krylon MAXX semi-gloss white paint was used to cover the bodies.
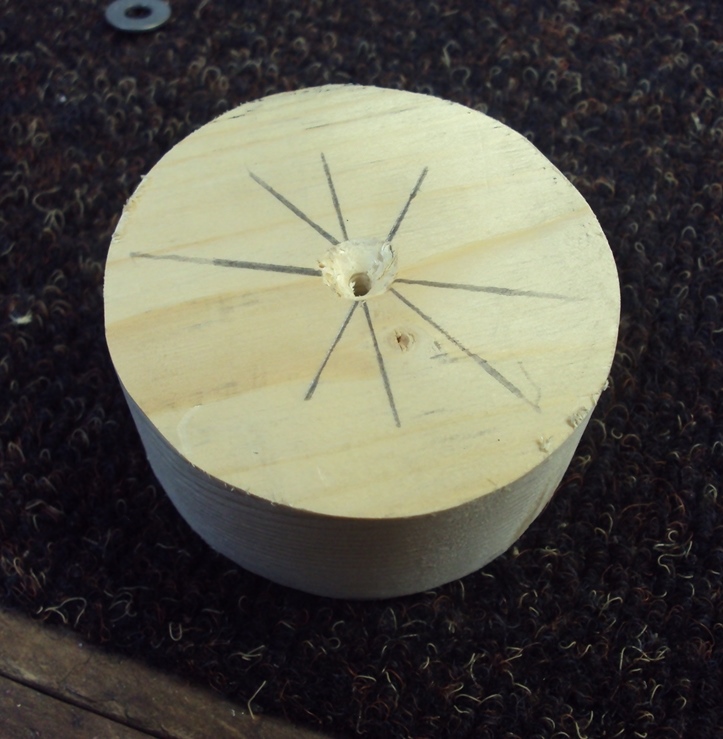
With the rocket body dried properly so the paint is not fragile, the opening on the body that accepts the fin assembly was measured. The measurement was transferred to a piece if thick wood with a compass and then cut out on my band saw. The edges were sanded down to make the plug more circular; that will just allow the plug to slip into the tube via light blows of a hammer. You need some friction fit here. Next, the center of the plug needed to be found.

A 1/8″ drill was used to make a pilot hole completely through the plug. Both ends of the hole were countersunk to provide lead for a wood screw you’ll need later on.
Epoxy (No cheapo stuff here, boys) was mixed up and smeared inside the rocket body (the non-threaded end!!!!) 1 inch down from the lip of the tube. The plug was then drifted into the tube so the top flat of the plug was down 1 1/8″. This was allowed to cure out.

You will notice the fin assembly has a hole in the center of it. Get thee a 2.5″ wood screw and fit a small washer onto it.
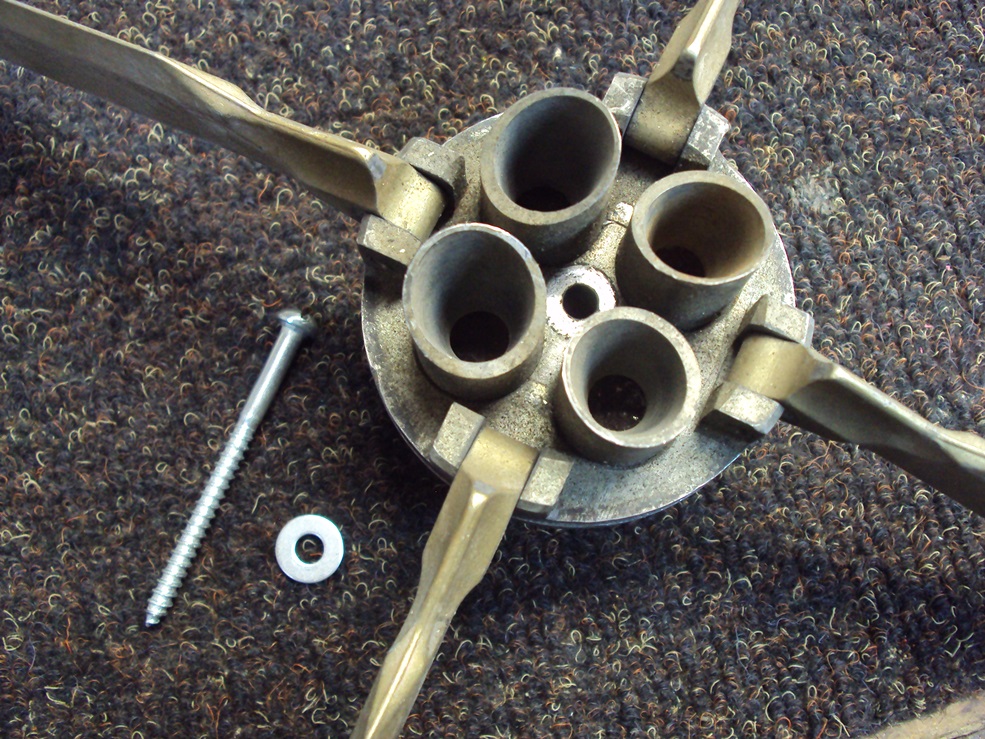
Since your very good epoxy is now hardened, place the fin assembly into the tube. Insert the wood screw and run it in tight. This will hold the fins in place rather securely.
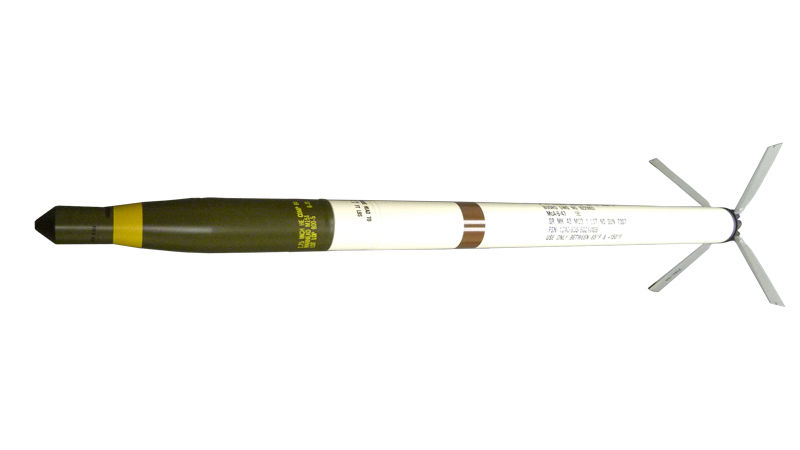
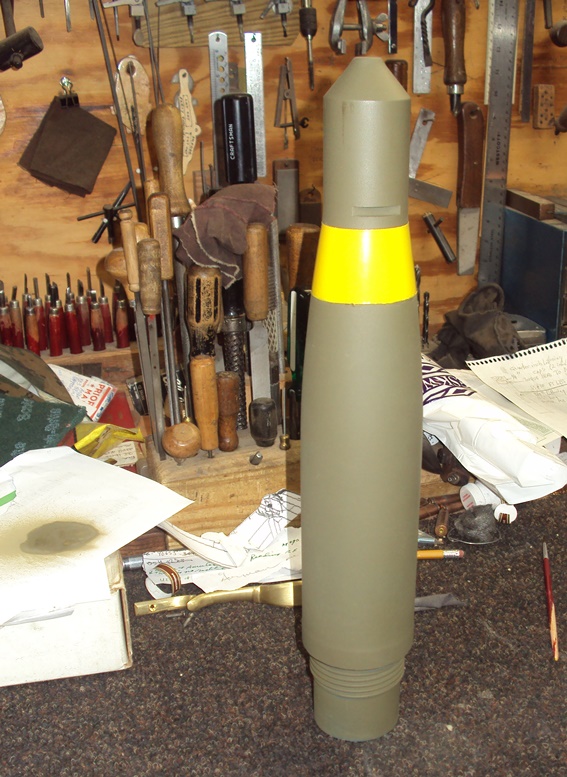
 The war head you painted earlier needs a yellow stripe on it. Measure down 2.5 inches and draw a circle around the war head at that point. Measure down another 1.5 inches and draw a second circle. Mask off the war head well both above and below the two pencil marked circles. Paint what’s in between yellow and let it dry well before removing the masking. It should appear similar to this when finished:
If you have used your head, been patient, and held your tongue in the right place, you should end up with something like this:
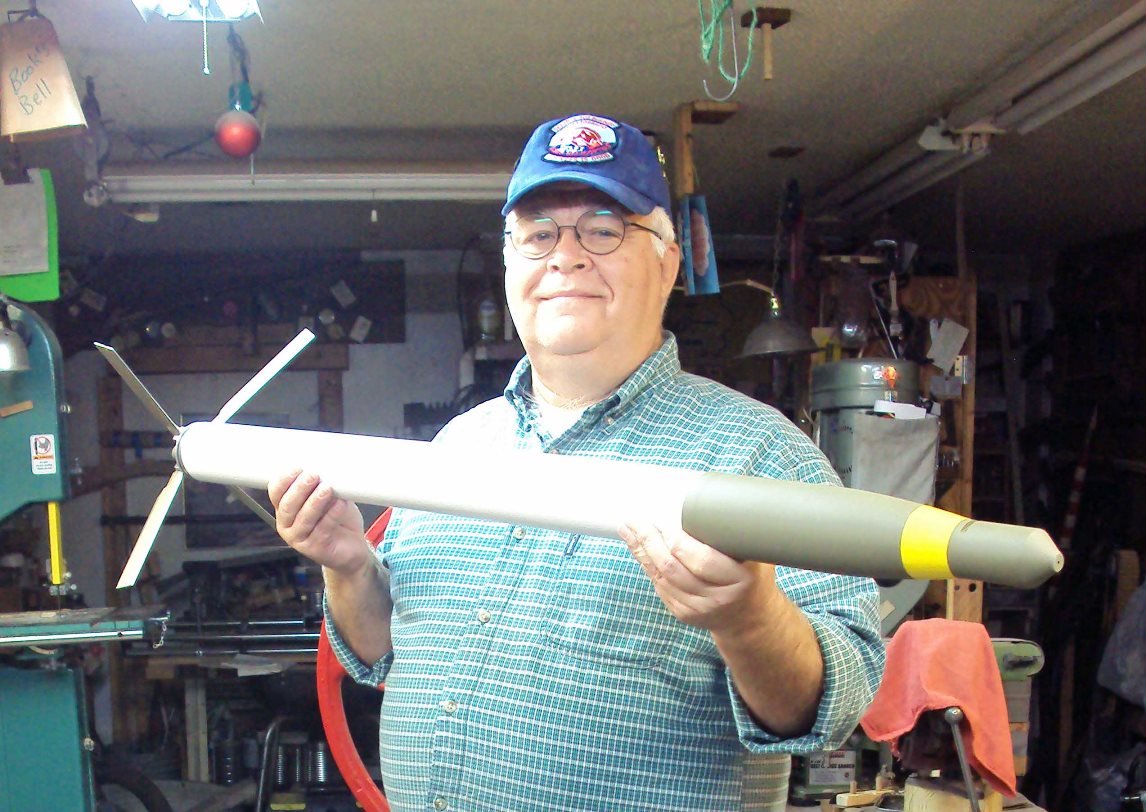 Looks pretty cool, right?